Post-Shoot Workflow: Real Estate Photo Editing Tips
As a luxury real estate and architectural photographer specializing in South Florida's luxury market—from Boca Raton to Jupiter—the real work begins after the shoot wraps.
Your prep (as covered in my last post) ensures great raw material, but a solid post-shoot workflow turns those files into polished images that accelerate sales by up to 32%. In today's fast-paced market, where AI tools are slashing editing time, efficiency is key—whether you're handling edits in-house or outsourcing them.
Here's my streamlined workflow. It covers offloading, culling, organizing, backup, and the fork in the road: DIY editing or outsourcing. Adapt it to your setup for consistent results.
//TM©
//TM©
1. Unload and Cull: Start Strong to Save Time
Right after the shoot, transfer RAW files to your computer—RAW format retains the detail needed for fixes like sun glare or interior shadows.
Unload Securely: Connect your camera or card reader and import to a dedicated SSD folder. Label it clearly (e.g., "BocaEstate_082125") to avoid mix-ups.
Cull in Adobe Bridge: Quickly review and rate shots (1-5 stars) based on sharpness, composition, and appeal—prioritize images showcasing luxury amenities like pools or views. Delete 50-70% of underperformers; focus on Bridge's filters for grouping by room or angle.
A ruthless cull on a recent Jupiter project slimmed 600 files to about 350, making the rest of the process much easier..
Adobe Bridge Workflow
2. Organize and Backup: Protect and Prepare Your Files
Organization prevents lost time, and backups safeguard against disasters and personal mistakes.
Create Structured Folders: On your SSD, make subfolders for culls (e.g., "Raw_Selects"). Use metadata in Bridge to tag files by category for easy retrieval.
Backup Immediately: Upload culled RAWs to cloud storage like Google Drive or Dropbox. I prefer Google Drive for for client-sensitive luxury gigs. Keep a local copy on an external drive for redundancy.
Pro Tip: Automate with tools like Backblaze for seamless syncing. In 2025, AI organizers in Adobe can auto-categorize by content, cutting manual work.
This dual-setup once rescued a Miami shoot during a blackout—cloud access let me proceed without delay (Thank god)
3. The Decision Point: Outsource or Edit Yourself?
Here's where workflows diverge. Choose based on volume, deadlines, and expertise—outsourcing shines for high-volume agents, while DIY offers full creative control for more bespoke clients and projects.
If Outsourcing:
Package culled files into a shared folder with detailed notes (e.g., "Boost ocean blues; keep whites bright").
Send via Dropbox, WeTransfer, or client portals. Expect turnaround in 24-48 hours from editors specializing in real estate edits.
Pro Tip: Vet real estate editors. Some are very unorganized and will not produce consistent results.. Costs average $0.75-$1.50 per image, saving you hours.
If Editing Yourself:
Drag selections back into Adobe Bridge/Camera Raw for initial tweaks.
Raw Adjustments: Correct distortion (fix wide-angle bends), add +70-90 sharpness/detail for crisp textures, and adjust white balance (eyedropper on neutrals to counter Florida's warm light). Batch-sync for efficiency.
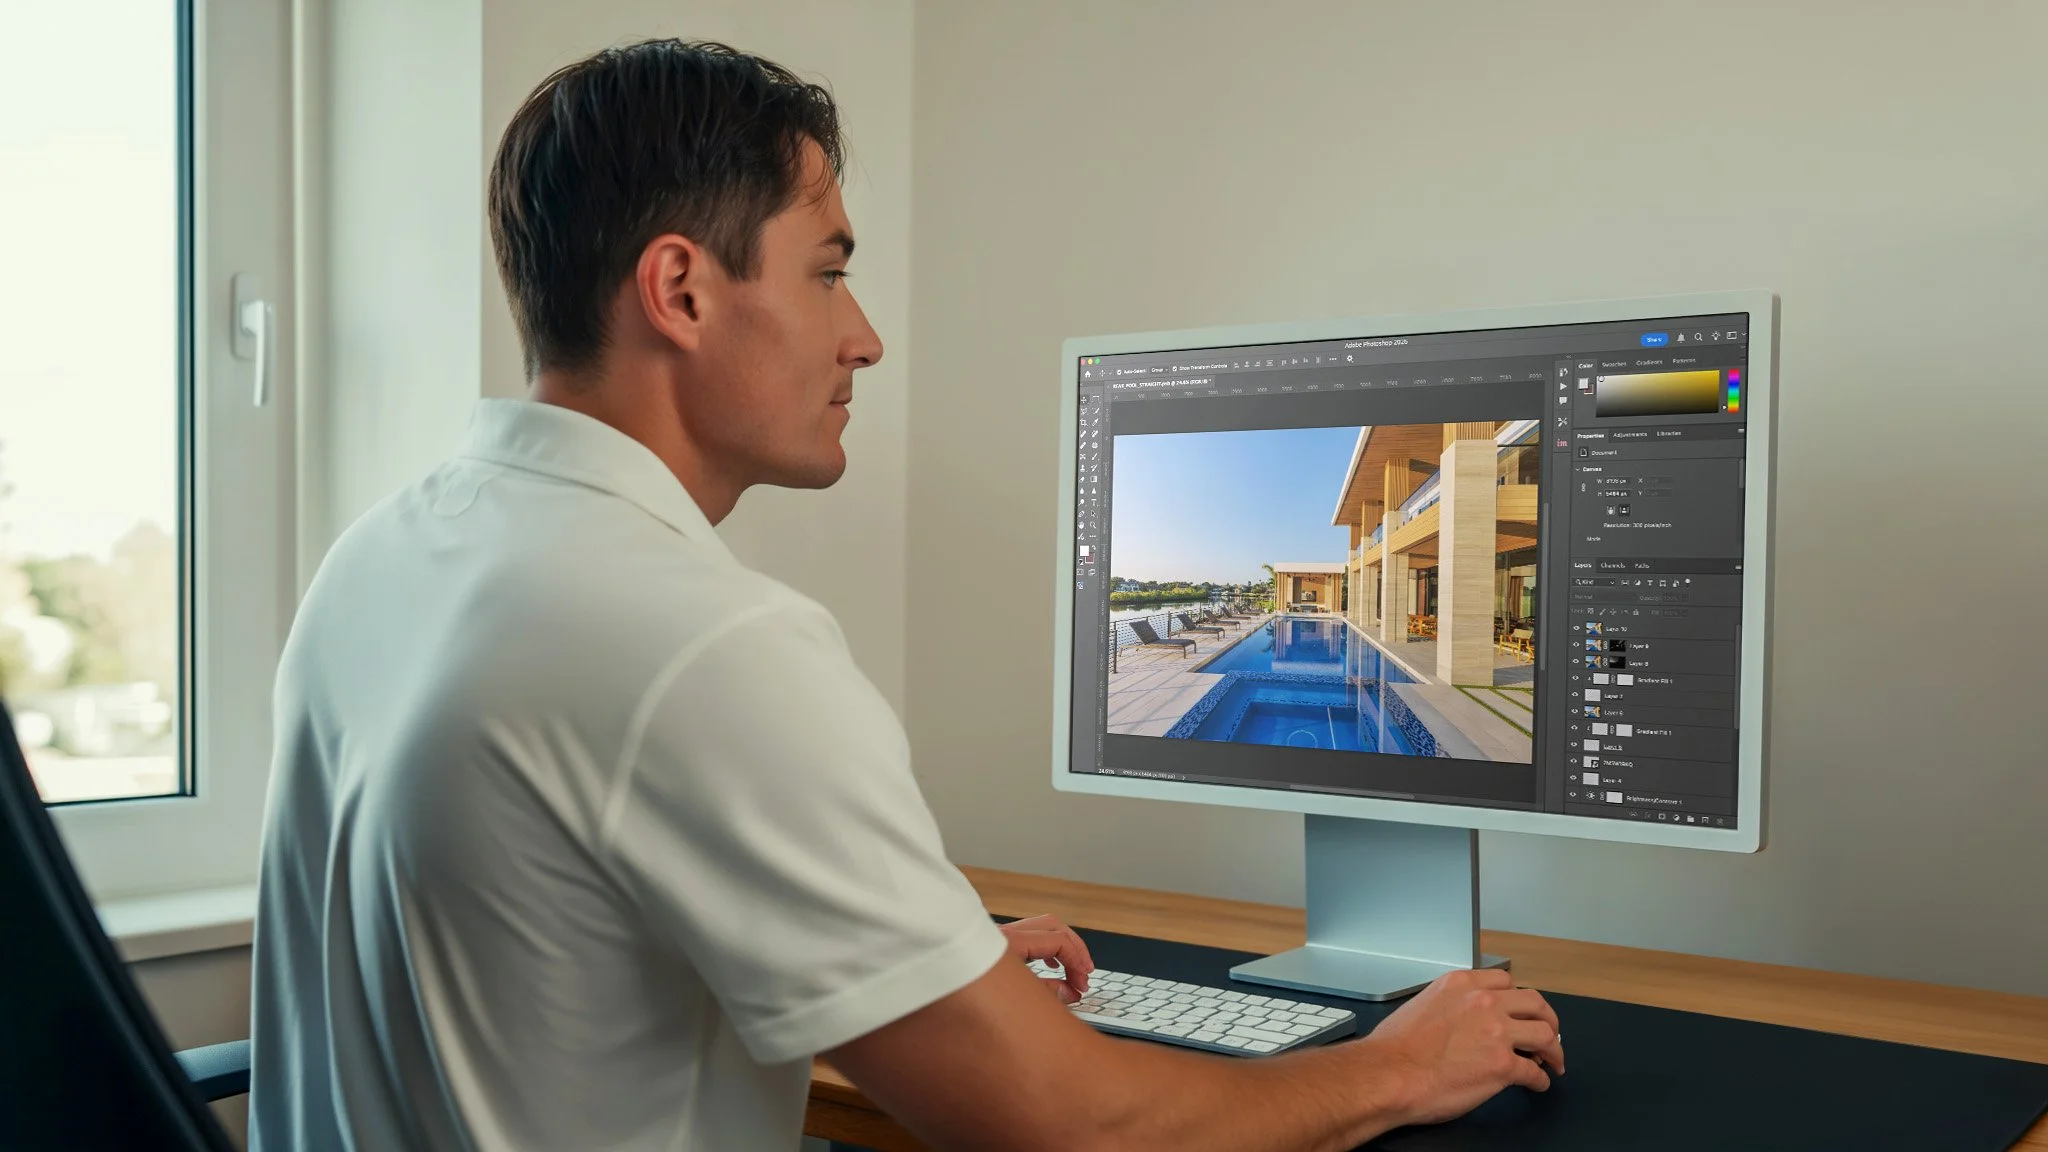
Hand Blending in Photoshop: Export as layers, then blend exposures using masks for balanced HDR effects (I personally like to use Raya Pro’s masking plugin) —ideal for high-contrast scenes like sunlit patios. Use Content-Aware or Generative Fill for distractions and straighten vertical and horizontal perspectives.
Pro Tip: Leverage 2025 AI in Photoshop (e.g., Adaptive Profiles) for auto-corrections, reducing blending time. For tropical hues, add subtle dehaze without over-saturating.
I typically outsource about 50% of my work, allowing me to focus on my top clients and projects while maintaining efficiency.
4. Final Polish and Delivery: Ensure Consistency and Trends
Regardless of path, review the set for uniform style—match colors and exposures across images.
Export Smartly: Output as JPEGs (quality 80-90) for MLS, or TIFFs for high-res print needs. Always make sure to copyright your work to avoid misuse.
Pro Tip: Always edit transparently—over-manipulation erodes trust. Legally, when editing photos specifically for real estate sales, you're prohibited from removing elements that exist in reality, such as power lines, neighboring properties, or any permanent features that could mislead buyers. However, for builder or architectural clients, you often have more creative freedom to remove distractions, as long as the images are intended for portfolio purposes rather than direct property sales.
Wrapping Up: Workflow That Wins in Luxury Real Estate
A refined post-shoot workflow whether solo or outsourced ensures your photos not only shine but sell. In competitive South Florida, this process keeps you efficient and will keep clients happy.
What's your workflow hack—DIY tweaks or outsourcing favorites? Comment below! Explore my portfolio or subscribe to my newsletter for more tips.


